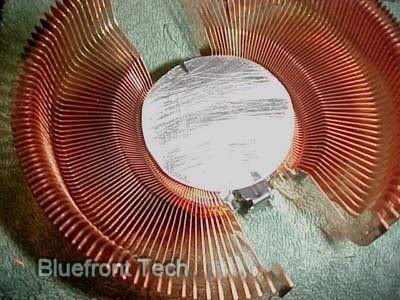
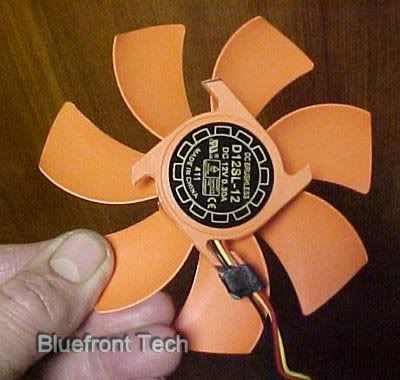
So I thought I'd try to mod the fan with something a little quieter. I posted another thread searching for everyone's opinion on the best 92mm fans for my application here. I got a couple responses saying I should try out the new Scythe 100mm fans as they fit 92mm openings. I was intrigued only because they were dirt cheap and came in 1000, 1500, and 2000rpm versions. So I bought two 1000rpms and a 1500rpm fan for my gaming machine for which the Zalman is running almost 1500rpm at the moment (definitely want it to stay cool as it's a Barton 2500+ OC'd to a 3200+).
I was a little afraid that the fan might be too big, but figured I could always measure and send them back if they were. After measuring I found that there was about 2mm of clearance available. Tight, no doubt, but I thought I could make it work. Of course, what I didn't realize or bother to check was that the internal diameter of the HS is not consistent all the way around. The copper areas in the middle are smaller in diameter by about 2-3mm. I only found this out after cutting the fan out of the frame.
Below is the steps I took to make it work. (Caution: I only did this because I had already paid for the fan, it would be wise to purchase an appropriately sized fan to begin with and dispense of all this bollox.)
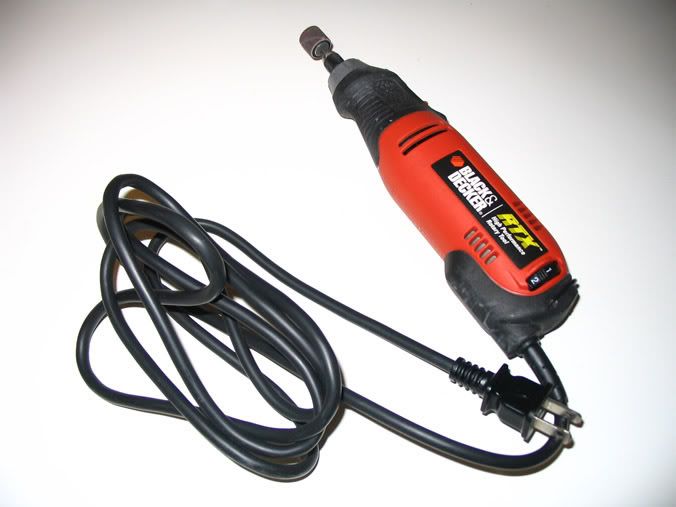
First, the most important tool you will need is one of these (or it's equivalent). My trusty old Black & Decker rotary tool with a sanding barrel.
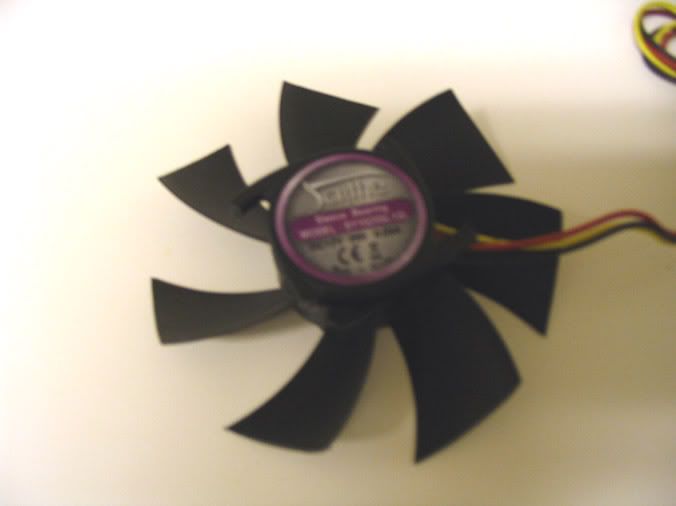
Next, you will need to cut the fan from it's frame using tin snips or some other tool (I used heavy-duty wire cutters). Leave some of the frame material on for some extra mounting surface so you are left with this.
Next, you need to remove the old fan from the HS, by unscrewing the two copperish-colored screws at the bottom of the fan bracket (one on each side). They line up directly with the retention bar. After taking out those two screws, the bracket just slides up and away. Unscrew the two small screws holding the fan in place and toss that Zalman POS in the garbage.
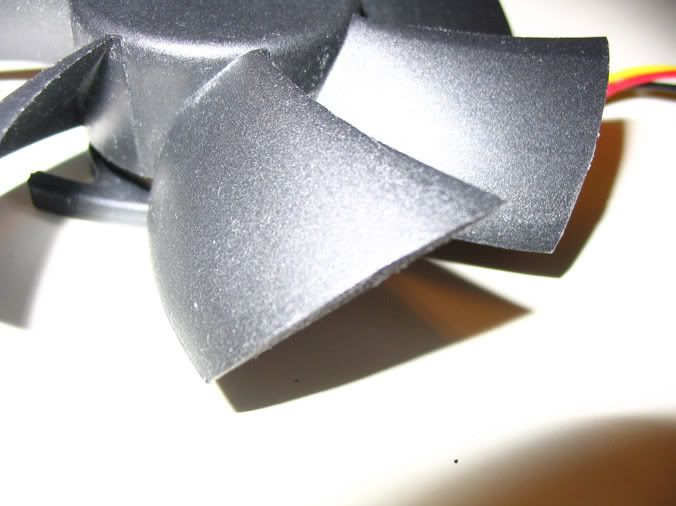
Next, you will need to take about 2mm of material off the end of each blade. Note that the blade is curved not just top to bottom but actually from the leading edge of the blade to the trailing edge so using a flexible straight edge won't give you the proper line. What I did was make several marks with a pencil 2mm from the tip along the edge of each blade, then made more till I ended up with a curving line in the same way as the original edge. Then I shaded the excess to be trimmed with a pencil so it was easily visible how much you have left to sand off. Repeat for each blade.
Using the rotary tool with the sanding disk makes a nice edge that keeps a fumblefitz like me from making to big of an error with a jerky wrist. I used my left hand to keep the tool stationary and my steady(er) hand to move the fan blade along the wheel using sweeping motions so as to not burn too much material away. Once this is done for every blade make a test fit inside the HS to make sure you've taken enough off. After that I shaved the edges with a straight razor blade to take off the excess trim debris. Wipe everything down with a damp cloth or paper towel to clean. (In hindsight, I should have marked the inside (or bottom) of each blade and sanded the edges so that the debris would not collect on the base of the fan.)
Once, that is done you will be left with this.
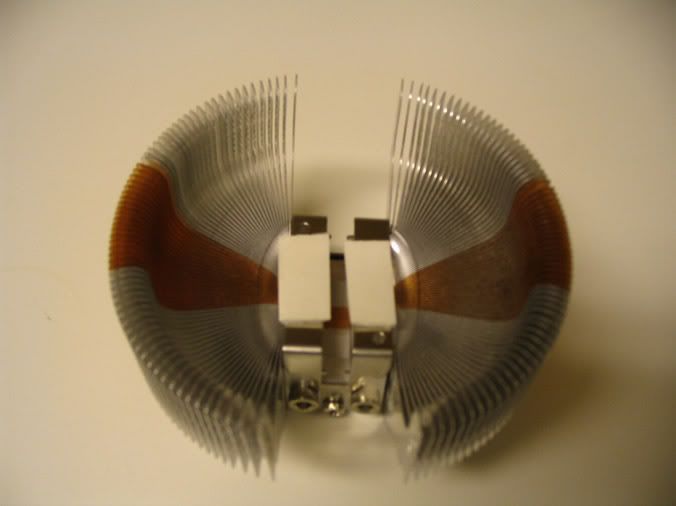
Now, find yourself some double-sided sticky foam (used for hanging pictures and whatnot) and cut off two small strips and adhere to the two parts of the bracket. Now the assembly should look like so:
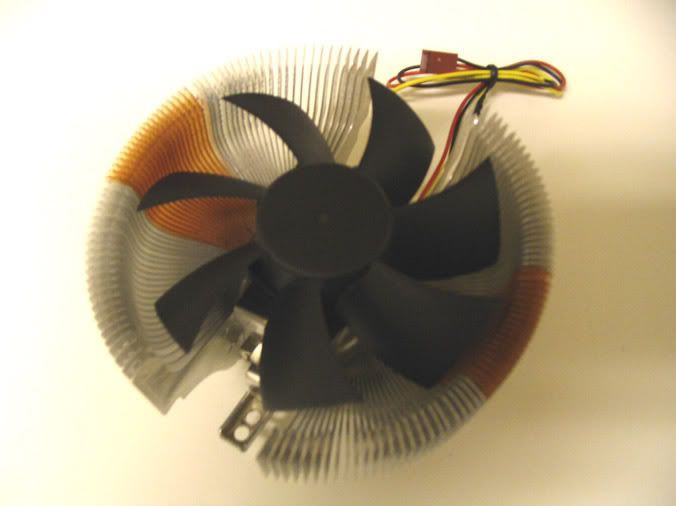
Now, carefully place the fan in the middle of the heatsink. Be very careful, as the sticky foam is very sticky and will not allow you to reseat if you screw up and the blades touch the HS fins. If you do screw up, remove the foam with a plastic putty knife and start over. Make sure that the retention bar is properly positioned before you do this as once the fan is on, there is no way to reposition the bar without removing the fan, and hence, redoing the foam.
If done right, the fan should spin freely without touching the fins and will look like this.
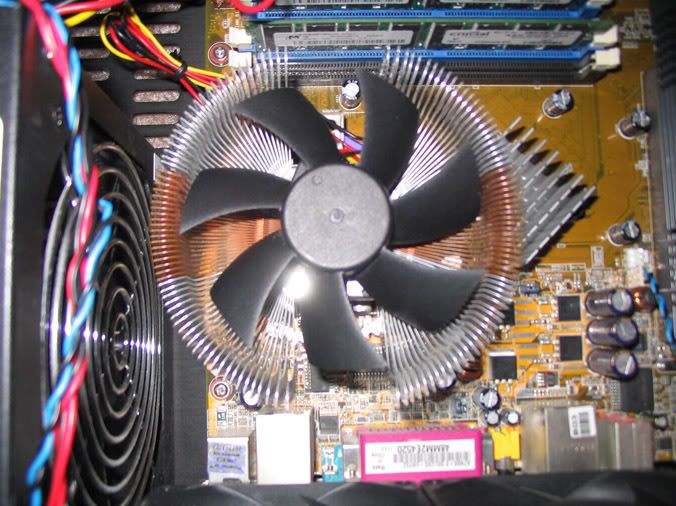
Now you may reinstall the HSF assembly (after cleaning off and reapplying the thermal goop of your choice, of course). My result was as so...
Earlier, I had applied some vinyl floor tiles I bought on sale at Menard's (regional HW store) and applied them to the lid of my OrigenAE x11 HTPC case. Here's the pic.
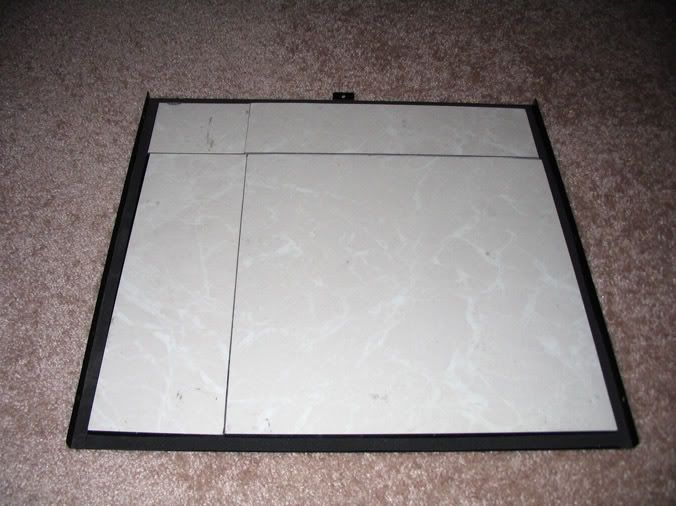
It's not pretty, but it's not visible either, and it really does help with the thin aluminum resonationing from all the other vibrations.
Below are some pics of the whole thing put together. I apologize for the state of the cable management. It's below my usual standards, but I ran out of black zip ties and will have to get more soon.
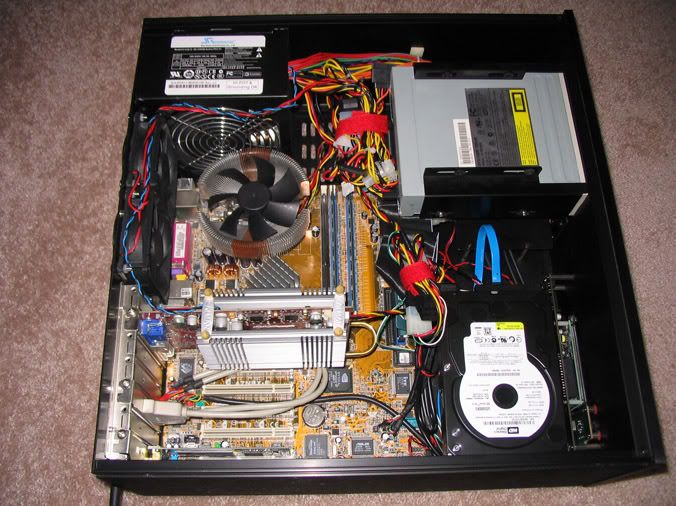
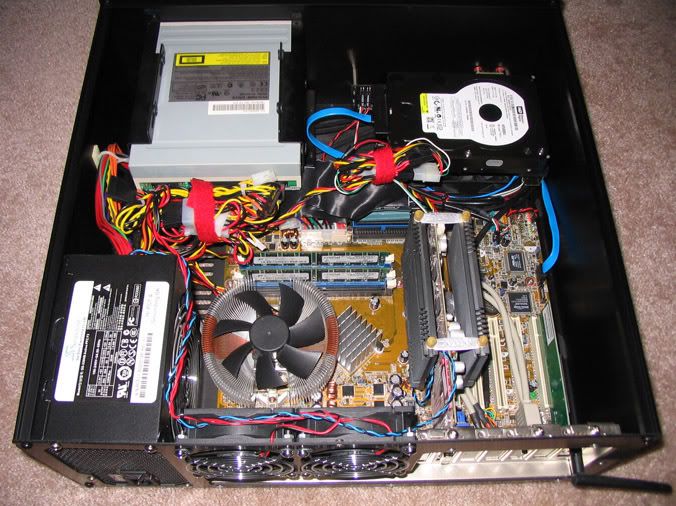
I also should mention that is my brand new WD 5000KS HDD and it's very quiet, though now it is the loudest device in my system. Much quieter than the old Maxtor DM9s (200GB and 80GB) that used to be there.
On the whole, I consider this a successful blunder. The fan, while not silent at 12v (mobo fan header) is very quiet and has a very low frequency hum or buzz that is only distinguishable from the background noise when the fan is stopped. However, it is an order of magnitude better than the Zalman fan. I could quiet it some by lowering the voltage, but for me it is quiet enough as the HDD is the only thing audible from 1m away.
Just for reference, there are a total of 5 fans in the system: the stock JAZ 80mm (2x) that came with the case are running at 5v, the Seasonic PSU fan (stock), a YateLoon 80mm running 5v under the hard drive, and of course the HSF at 12v. The system stays quite cool and is very quiet (to me), though probably not up to the standards of some of the regulars around here <cough> BlueFront, Felger, jaganath <cough>
While I doubt this will be of much help to anyone who is attempting a similar mod, it can at least be an example of what NOT to do.
Cheers

